Upload Student Profile Picture
Last updated: March 5, 2026
Video
Step-by-Step Guide
This tutorial walks through the steps to upload a photo as a student's profile picture in MyPath. By following these instructions, you'll ensure that each student's profile is visually personalized and easy to recognize within the system.
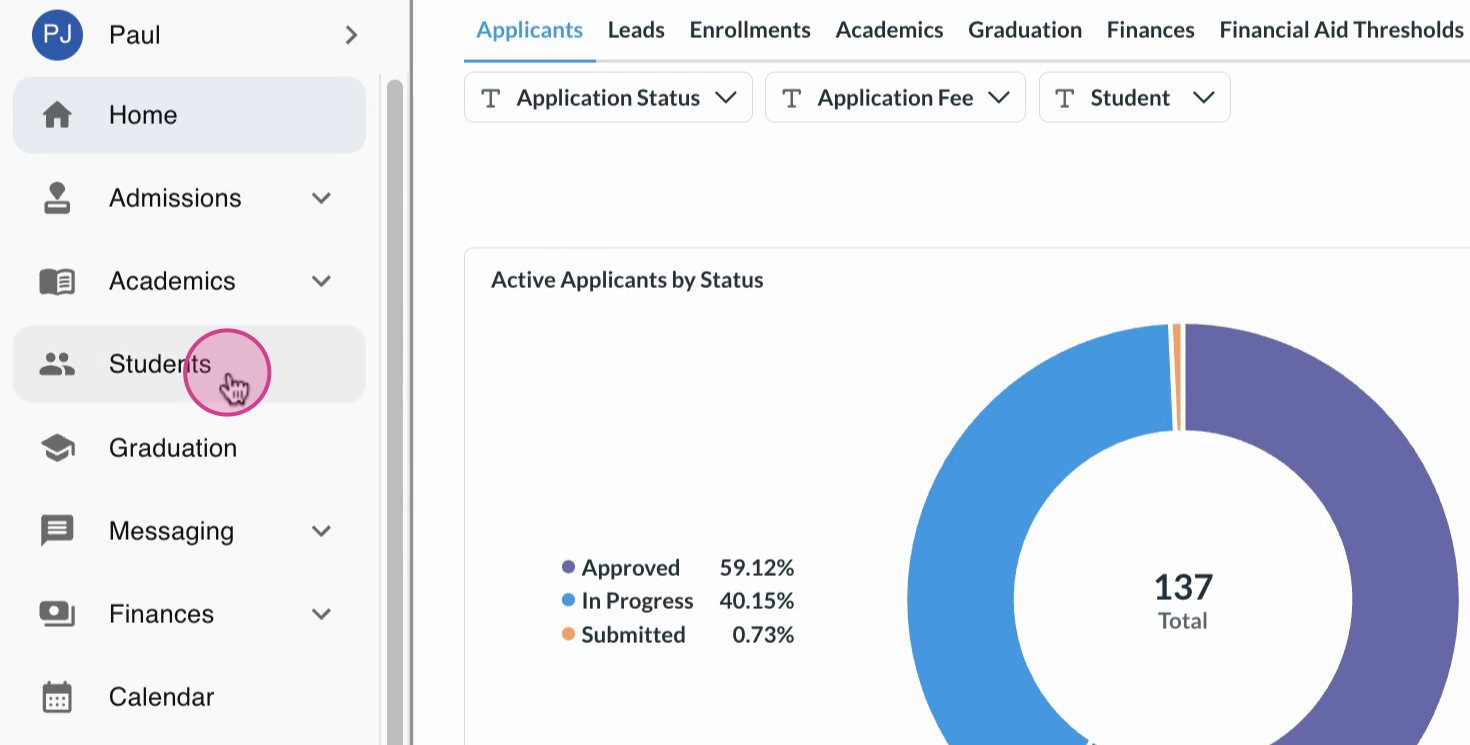
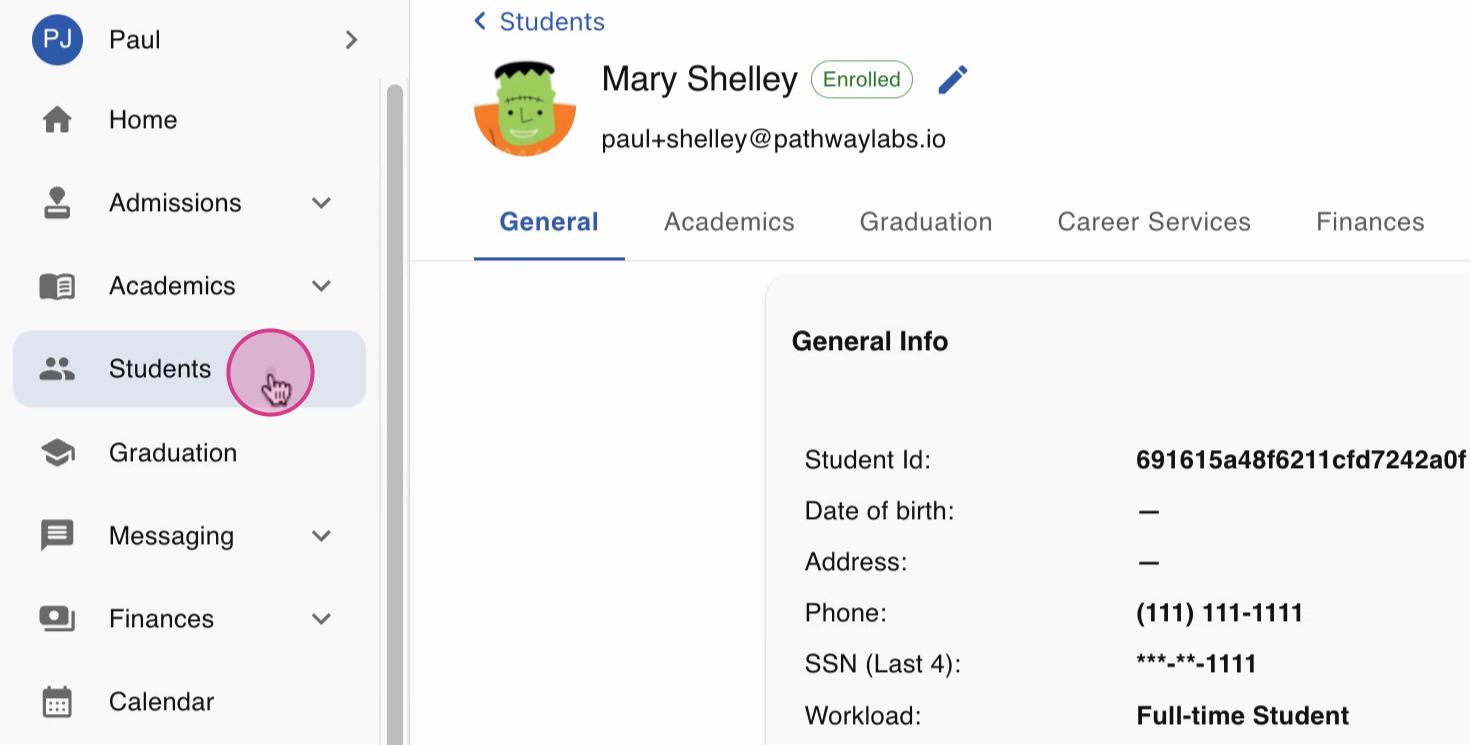
Step 1: Navigate to the Students Module
Start from the home dashboard and head over to the Students module.
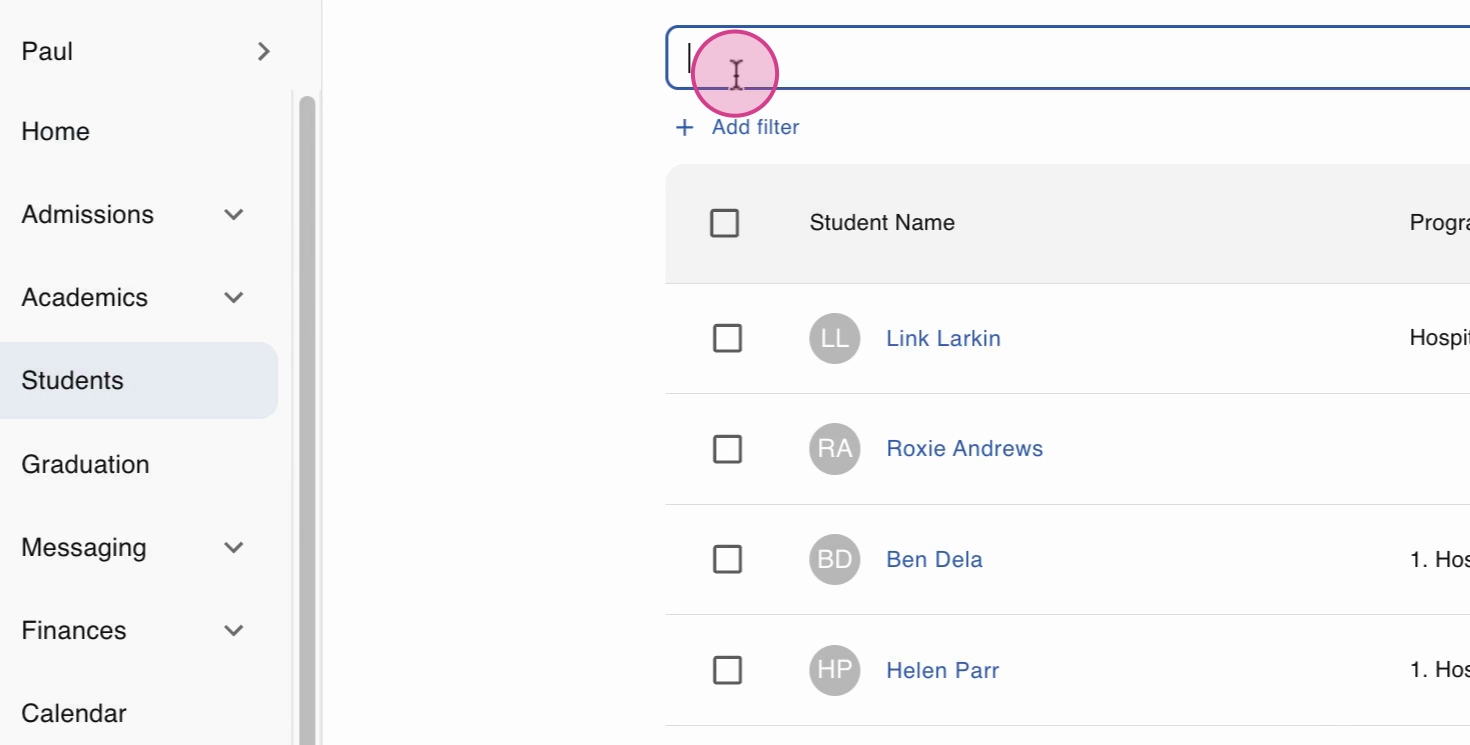
Step 2: Search for the Student
Use the search feature to find the student whose profile picture you want to update.
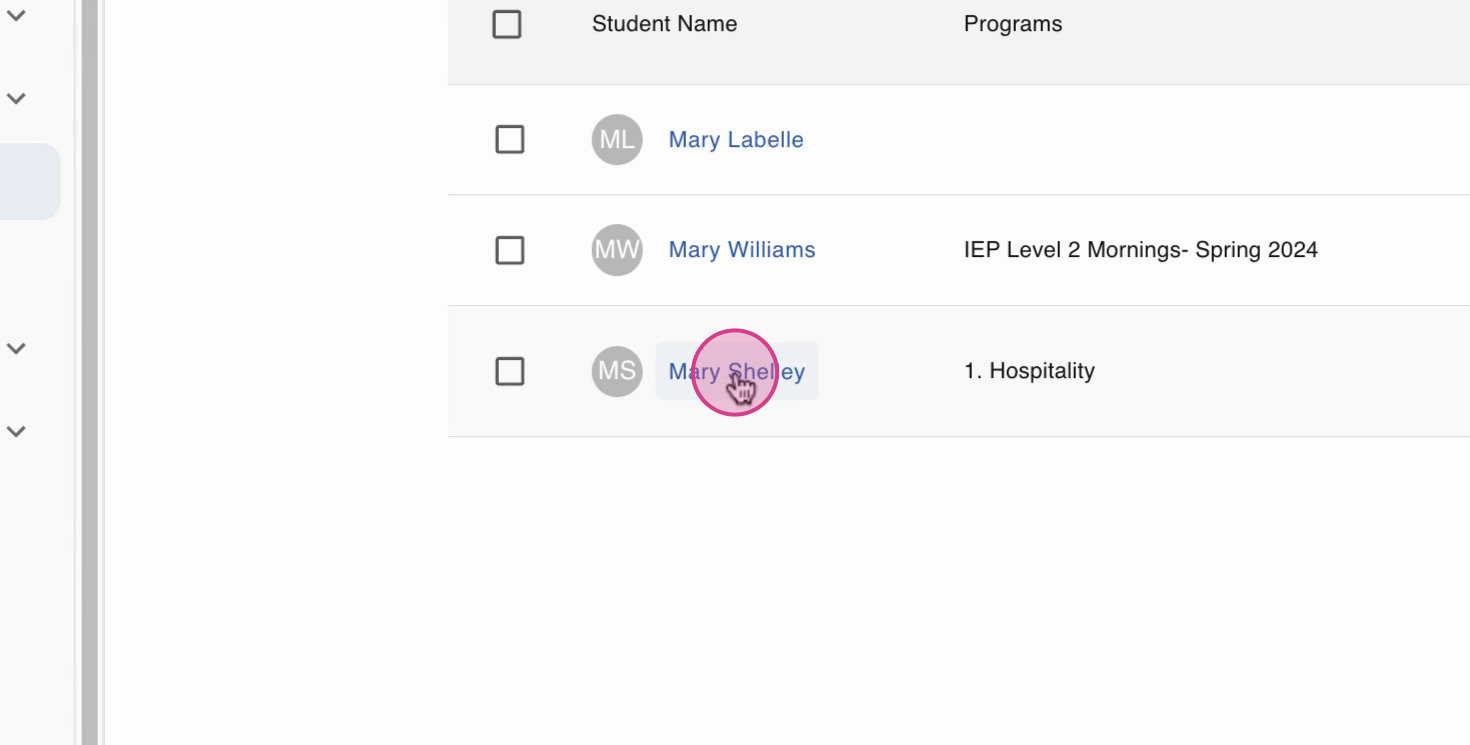
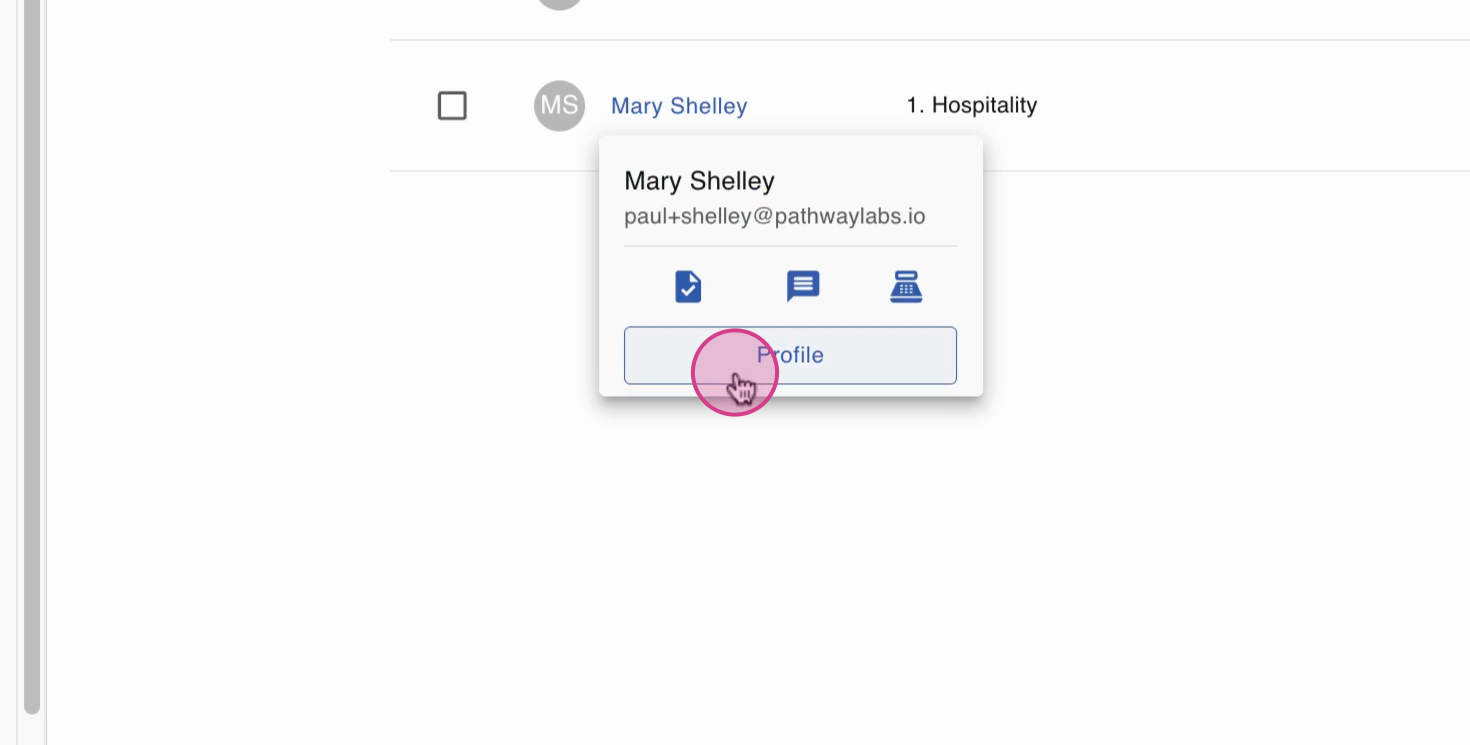
Step 3: Open the Student's Profile
Select the student's account and enter their profile.
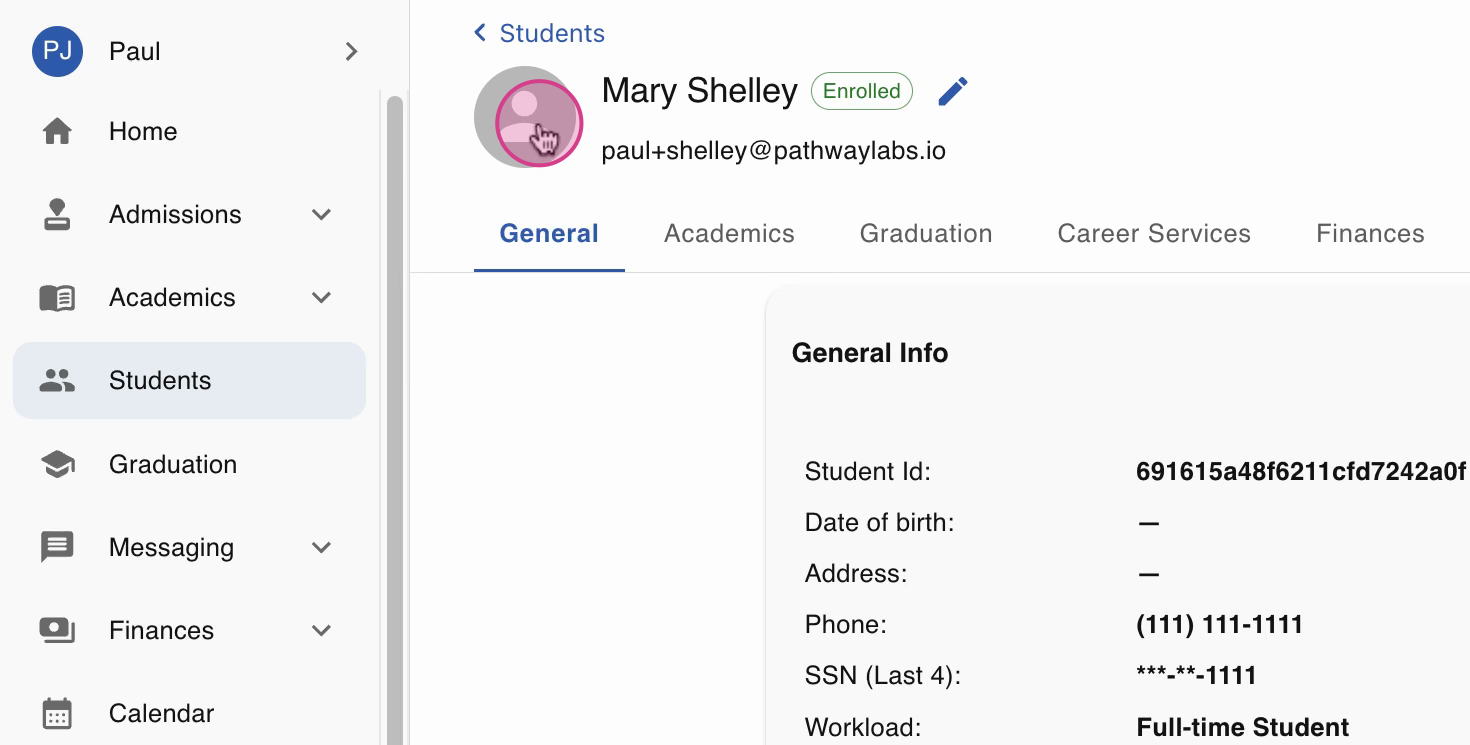
Step 4: Select the Default Profile Icon
Hover your cursor over the blank profile image. The cursor changes to indicate you can update the image. Click the profile picture area to open the upload window.
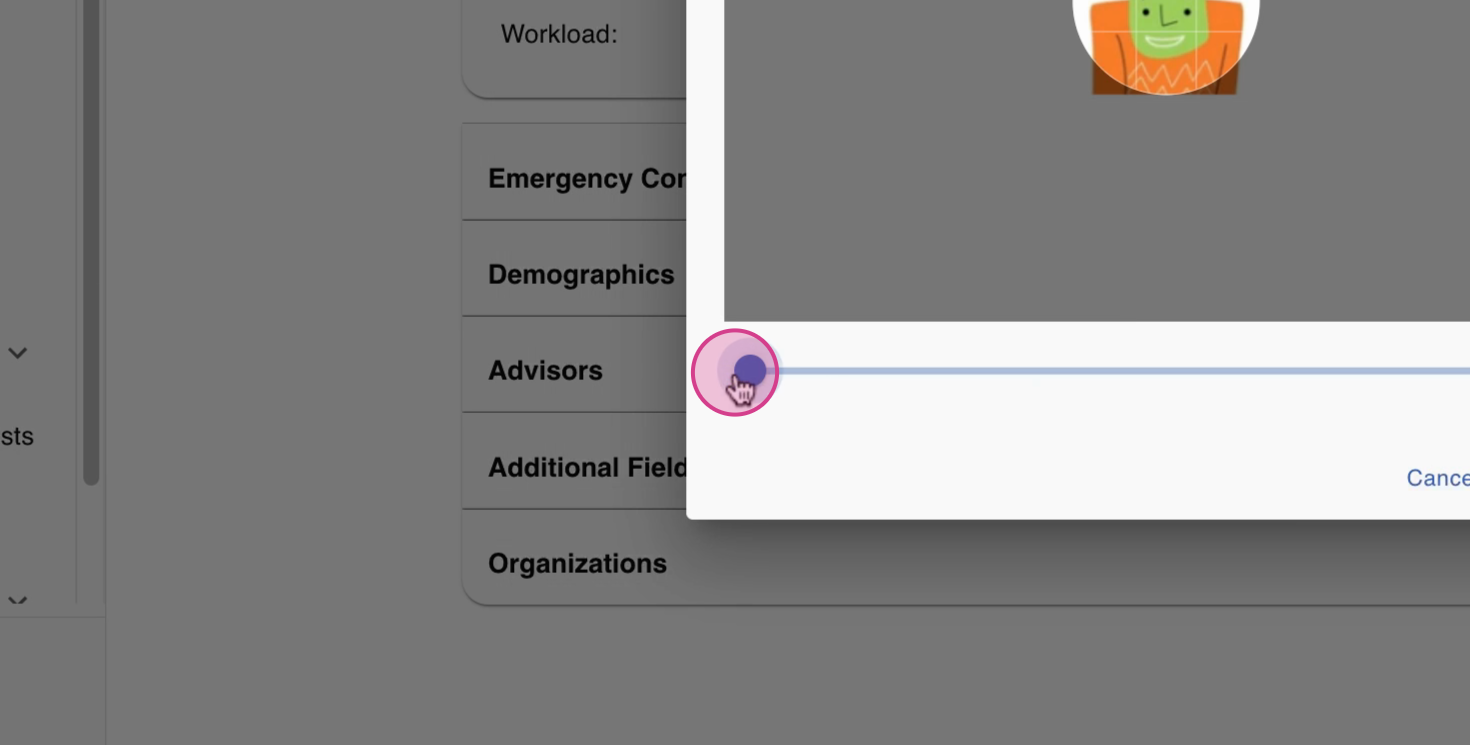
Step 5: Upload and Adjust the Photo
In the upload window, choose the photo you want to use. Use the zoom in and zoom out tools to ensure the photo fits well within the borders.
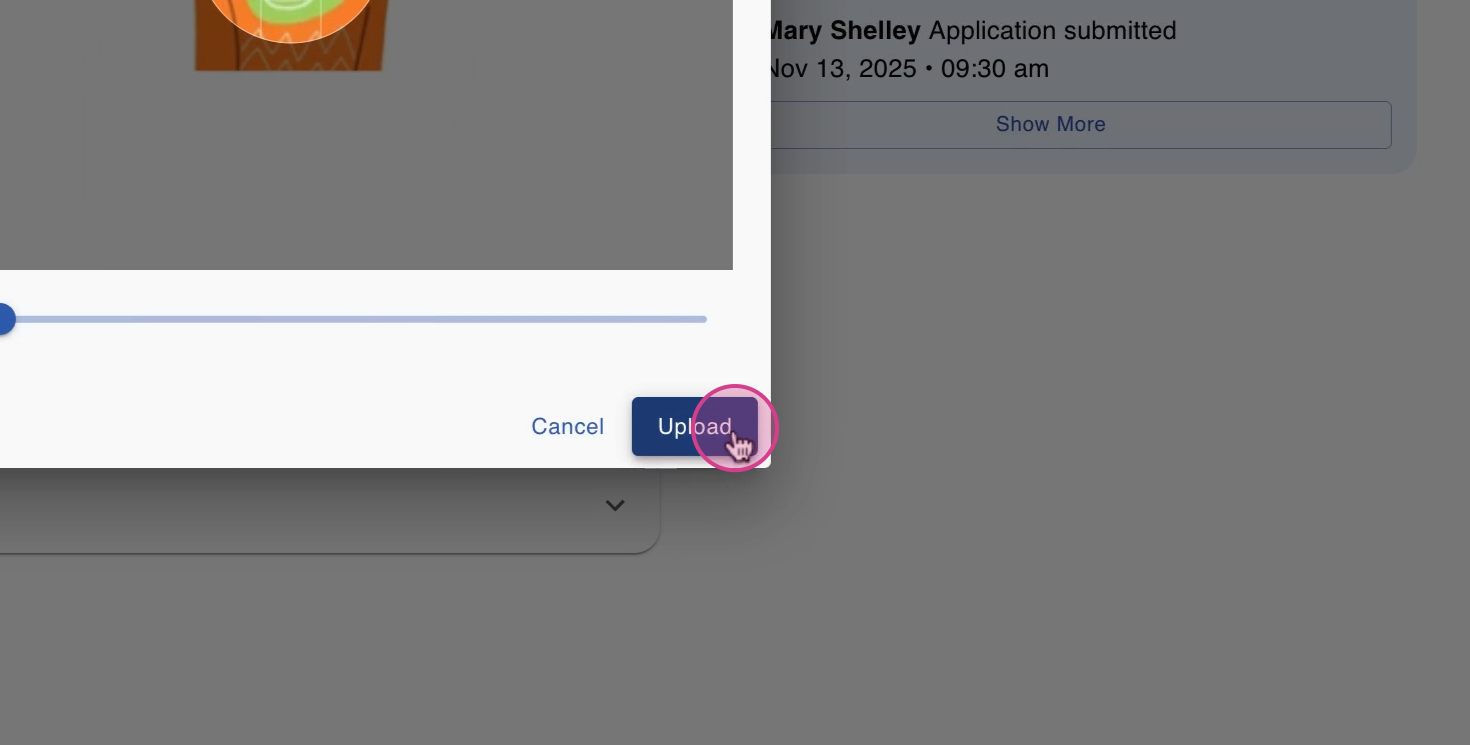
Step 6: Confirm and Upload
Select Upload. The image updates in the top left corner of the student's profile.
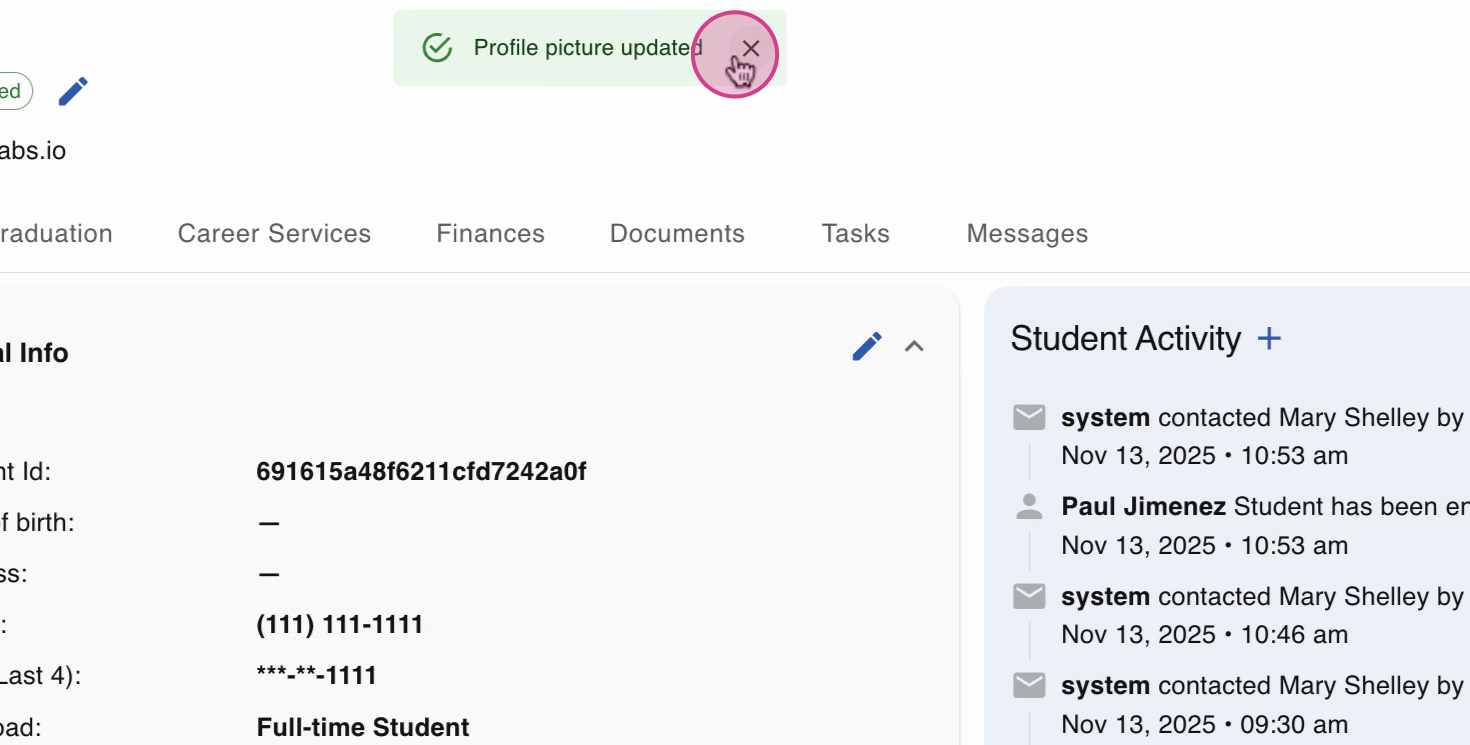
Step 7: Verify the Update
The new profile picture now appears both in the Students module and within the student's actual page.
FAQs
Q: What file formats are supported for profile pictures?
A: MyPath typically supports JPEG and PNG files. If you encounter issues, check with your administrator.
Q: What if the upload button isn't working?
A: Make sure the image meets any file size or format requirements. Try refreshing the page or contacting support if problems persist.
Q: Can I change a profile picture later?
A: Yes, repeat these steps to upload a new photo at any time.